If Arduino got you started with electronics, the ESP32 is where things get exciting. It's one of the most powerful, affordable, and widely used boards in the maker and IoT community — packing Wi-Fi, Bluetooth, and serious processing power into a chip that costs just a few dollars.
Whether you're building a smart home device, a wearable, a robot, or a full IoT system that talks to the cloud, the ESP32 is very likely the board you'll reach for. In this guide, we'll cover what the ESP32 is, why it's so popular, how it compares to other boards, and how to get started with your first project.
What Is the ESP32?
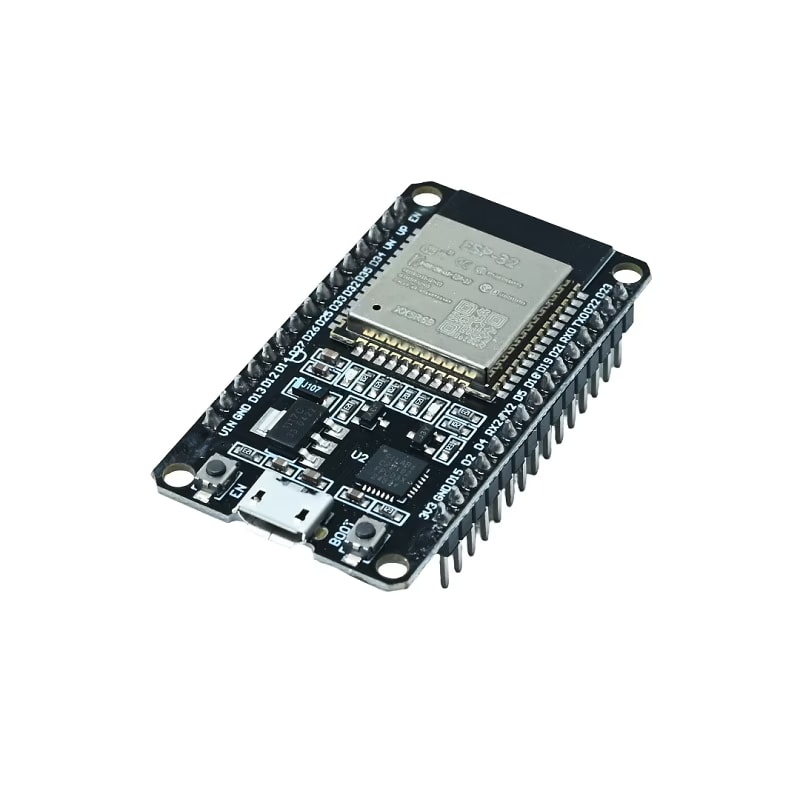
The ESP32 is a low-cost, low-power microcontroller with built-in Wi-Fi and Bluetooth, developed by Espressif Systems. It's the successor to the wildly popular ESP8266, and it improves on it in almost every way — more processing power, more memory, more GPIO pins, and added Bluetooth support.
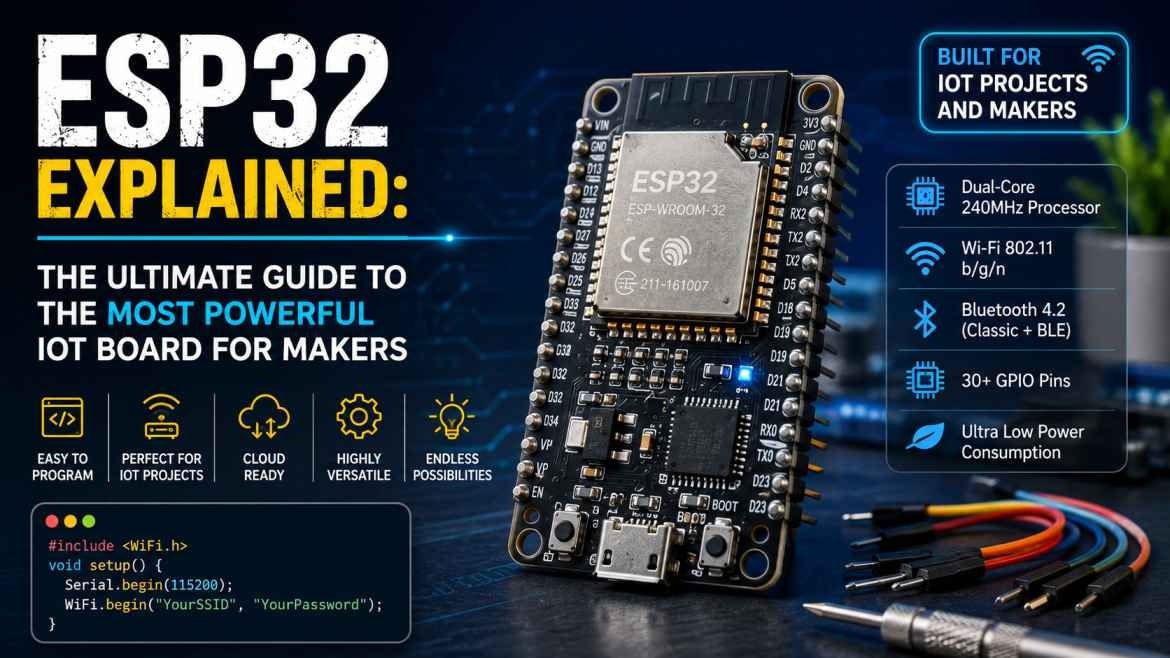
At its core, the ESP32 is a dual-core processor that can run at up to 240 MHz, making it capable of handling tasks that would be difficult or impossible for a basic Arduino board — like managing wireless communication and sensor data processing at the same time.
This combination of affordability, wireless connectivity, and processing power is exactly why the ESP32 has become the default choice for IoT projects.
Why Makers and Engineers Love the ESP32
- Built-in Wi-Fi and Bluetooth — no need for extra shields or modules to get your project online, unlike a standard Arduino Uno.
- Dual-core processor — powerful enough to run more complex code, multitask, and handle real-time sensor data.
- Plenty of GPIO pins — enough input/output pins to connect multiple sensors, displays, and actuators in a single project.
- Low power consumption — with deep sleep modes that make it ideal for battery-powered IoT devices.
- Arduino IDE compatible — if you already know Arduino programming, you can program the ESP32 using the same environment with minimal adjustment.
- Affordable — despite the extra features, ESP32 boards remain inexpensive compared to their capabilities.
ESP32 vs Arduino Uno vs ESP8266: What's the Difference?
A common question for beginners is which board to choose. Here's a simple breakdown:
- Arduino Uno — best for learning the basics; no built-in wireless connectivity; simpler, more limited processing.
- ESP8266 — budget-friendly Wi-Fi board; good for basic IoT projects but lacks Bluetooth and has fewer GPIO pins than the ESP32.
- ESP32 — the most capable of the three; ideal when your project needs Wi-Fi, Bluetooth, more processing power, or more pins.
If your project doesn't need internet connectivity, an Arduino Uno may be all you need. But for anything involving IoT, remote monitoring, smart devices, or wireless control, the ESP32 is generally the better long-term choice.
What Can You Build With the ESP32?
The ESP32's combination of wireless connectivity and processing power opens the door to a wide range of projects:
- Home automation systems — controlling lights, fans, and appliances remotely via Wi-Fi or a smartphone app
- IoT sensor networks — collecting temperature, humidity, or air quality data and sending it to the cloud
- Wearable devices — thanks to its small size and low power draw
- Smart security systems — motion-triggered alerts sent directly to your phone
- Voice and Bluetooth-controlled projects — using the ESP32's Bluetooth capability for wireless control
- Robotics with remote control — controlling robots over Wi-Fi instead of physical remotes
Basic Components You'll Need to Get Started
To start building with the ESP32, a few essentials will get you going:
- An ESP32 development board — most beginners start with a standard ESP32 DevKit board
- A breadboard and jumper wires for prototyping circuits
- A micro-USB cable to connect the board to your computer for programming and power
- Basic sensors — such as DHT11/DHT22 for temperature and humidity, or PIR sensors for motion detection
- Output components — LEDs, relays, or small OLED displays to visualize data
- A stable Wi-Fi connection, since many ESP32 projects rely on internet connectivity
How to Get Started With Your First ESP32 Project
- Get an ESP32 development board — the standard DevKit V1 is a solid, well-documented starting point.
- Install the Arduino IDE and add ESP32 board support through the board manager.
- Start with "Blink" — just like with Arduino, blinking the onboard LED confirms your setup works correctly.
- Connect to Wi-Fi — try a simple sketch that connects the ESP32 to your home network, which unlocks most of its real potential.
- Read a sensor and send data online — a great next step is reading temperature data and displaying it on a simple web page hosted by the ESP32 itself.
- Explore libraries and community projects — the ESP32 has an enormous library ecosystem and community, so most beginner roadblocks already have documented solutions.
Final Thoughts
The ESP32 has earned its place as one of the most important boards in the maker and IoT world. It bridges the gap between simple learning projects and real, connected devices — all while staying affordable and beginner-friendly, especially if you're already familiar with the Arduino ecosystem.
Whether you're building your first smart home gadget, a wearable, or a full IoT sensor network, the ESP32 gives you the wireless connectivity and processing power to go from idea to working prototype — without needing a large budget or advanced engineering background.
Related products
Components that pair well with this guide.