If you're stepping into the world of electronics, robotics, or DIY automation, chances are you've already heard the name Arduino. It's one of the most popular platforms for beginners and hobbyists — and for good reason. Arduino makes it possible to build real, working electronic projects without needing a degree in electrical engineering.
In this guide, we'll break down what Arduino actually is, how it works, why it's so beginner-friendly, and how to get started with your first project.
What Is Arduino?
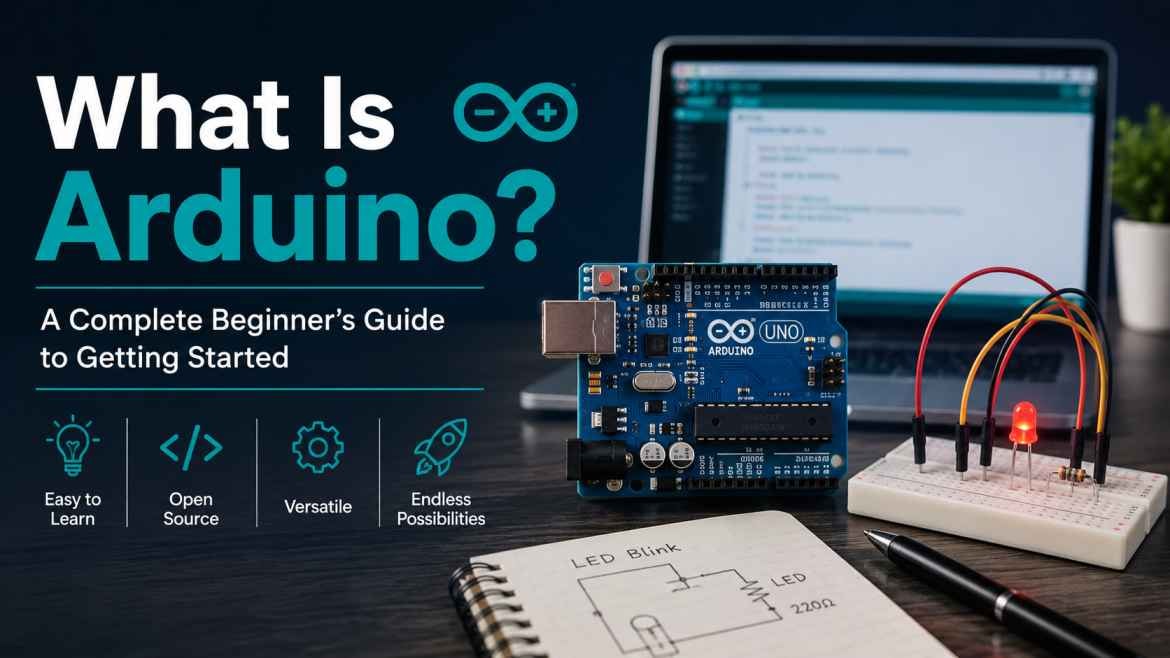
Arduino is an open-source electronics platform made up of two main parts: hardware (a microcontroller board) and software (the Arduino IDE, where you write and upload code). Together, they let you build projects that sense the world around them — through sensors — and respond to it, using outputs like motors, LEDs, or displays.
In simple terms: Arduino lets you write a set of instructions, upload them to a small board, and have that board control real-world components — blinking a light, reading temperature, driving a motor, or even controlling a full robot.
It was originally designed for students and non-engineers, which is why the ecosystem is so approachable compared to other microcontroller platforms.
Why Is Arduino So Popular?
A few reasons Arduino has become the go-to choice for beginners and professionals alike:
- Beginner-friendly programming — the Arduino IDE uses a simplified version of C/C++, with tons of pre-written libraries so you don't have to code everything from scratch.
- Huge community support — millions of hobbyists, students, and engineers have documented projects, tutorials, and troubleshooting guides online.
- Affordable hardware — boards and components are inexpensive, making it accessible for students and first-time builders.
- Massive compatibility — thousands of sensors, motors, displays, and shields are designed specifically to plug into Arduino boards.
- Open-source flexibility — you're not locked into one manufacturer's ecosystem, and you can customize almost everything.
Popular Arduino Boards to Know
Not all Arduino boards are the same — different projects call for different boards. Some of the most common ones include:
- Arduino Uno — the most popular board for beginners, great for learning the basics.
- Arduino Nano — a compact version of the Uno, ideal for space-constrained projects.
- Arduino Mega — offers more input/output pins, useful for complex projects needing multiple sensors and outputs.
- ESP32 / ESP8266 (Arduino-compatible) — popular for IoT projects since they come with built-in Wi-Fi and Bluetooth.
If you're just starting out, the Arduino Uno is almost always the recommended first board — it's well-documented, widely supported, and perfect for learning core concepts.
What Can You Build With Arduino?
The range of Arduino projects is huge, spanning total beginner builds to advanced robotics and IoT systems. Some common project categories include:
- Home automation — controlling lights, fans, or appliances using relays and sensors
- Weather stations — using temperature, humidity, and pressure sensors to log environmental data
- Robotics — building line-following robots, obstacle-avoiding bots, or robotic arms
- Security systems — motion detectors, door sensors, and alarm systems
- IoT projects — connecting Arduino-compatible boards like the ESP32 to the internet for remote monitoring and control
- Wearables and gadgets — simple wearable electronics using compact boards like the Nano
Basic Components You'll Need to Get Started
Every Arduino project generally starts with a small set of core components:
- An Arduino board (Uno is the standard starting point)
- A breadboard for prototyping circuits without soldering
- Jumper wires to connect components
- Basic sensors — such as ultrasonic distance sensors, temperature sensors, or IR sensors, depending on your project
- Output components — LEDs, buzzers, motors, or small displays
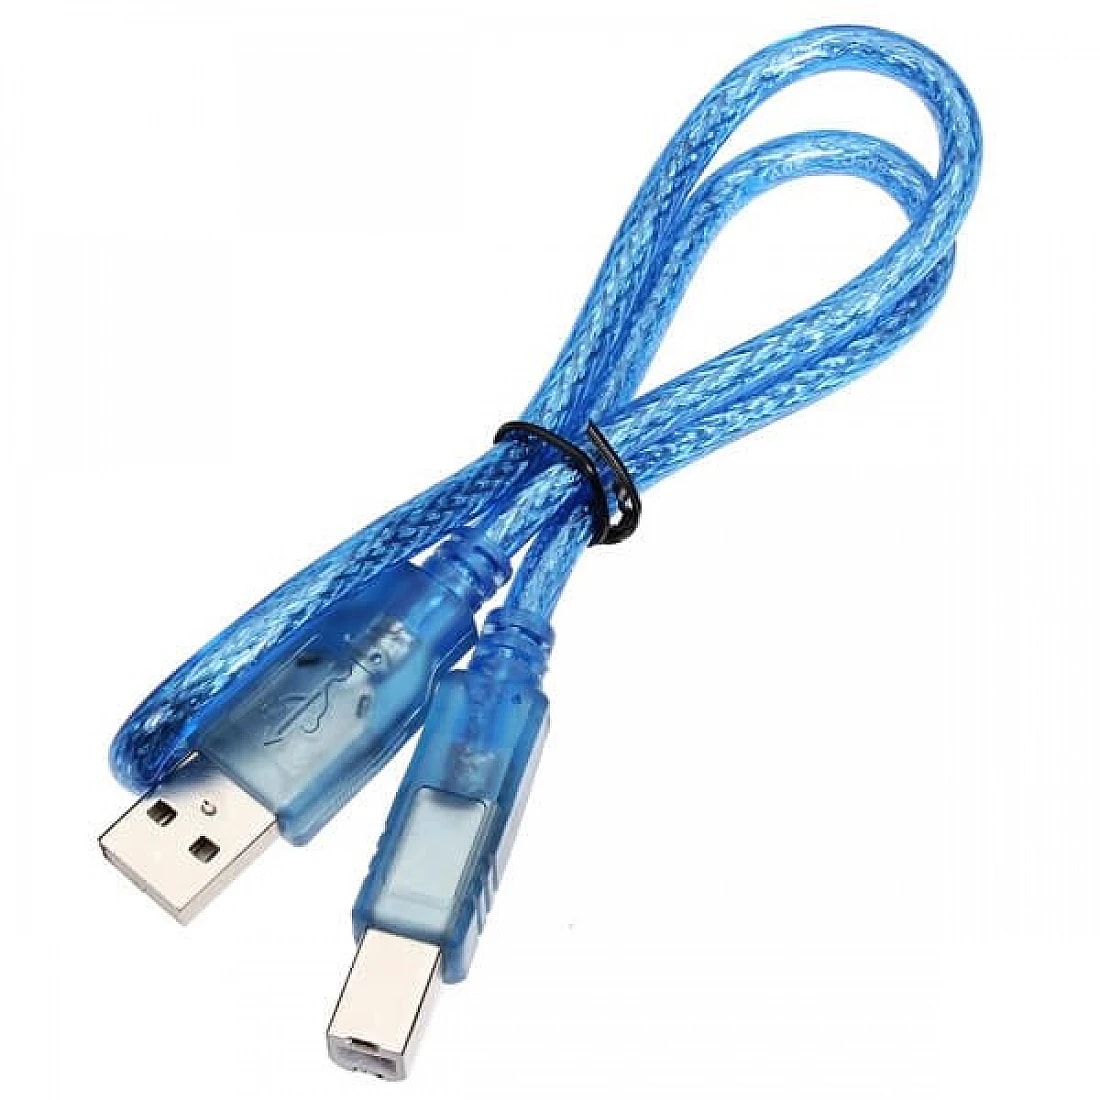
- A USB cable to connect the board to your computer for programming
Having a small starter kit with these basics on hand makes it much easier to follow tutorials and experiment freely, rather than buying components one project at a time.
How to Get Started With Your First Arduino Project
- Get an Arduino board — the Uno is the best starting point for most beginners.
- Install the Arduino IDE — this is the free software you'll use to write and upload code to your board.
- Start with "Blink" — nearly every Arduino tutorial begins with blinking an onboard LED. It's simple, but it teaches you the full upload-and-run process.
- Move on to sensors — try reading data from a basic sensor, like a push button or a light sensor (LDR), and displaying the result.
- Combine inputs and outputs — once you're comfortable, try a project that reads a sensor and reacts with an output, like turning on an LED when it gets dark.
- Explore the community — Arduino has one of the largest hobbyist communities online, so most beginner problems already have a documented solution.
Final Thoughts
Arduino remains one of the best entry points into electronics, robotics, and IoT — not because it's the most powerful platform out there, but because it removes the biggest barrier for beginners: complexity. With a low-cost board, a handful of components, and some patience, anyone can go from "what is a microcontroller?" to building working, real-world projects in a matter of weeks.
Whether you're a student working on a college project, a hobbyist exploring robotics, or someone curious about home automation, Arduino is a practical and affordable place to start — and the components you need to build your first project are more accessible than ever.
Related products
Components that pair well with this guide.